Pages

Showing posts with label create. Show all posts

Friday, April 20, 2012

Polka-Dot Wallet


I’m picky about stuff.  I hate buying new bags (not purses, I’m not a purse person, or so I tell myself…), new wallets, new organizational systems, etc.  They never seem to have everything I need arranged the way I want.  So, I tend to make my own.

In a swap a while back, probably almost two years ago, I received a cloth wallet and loved it to pieces.  Well, it finally fell into pieces.  The corners of my cards were poking out the front and the interfacing was exposed.  It had been well used and looked like it.

My quest for a new wallet had begun.

I started searching through Etsy, looking for a pattern and inspiration.  I could have made my own pattern.  In fact, I had done it before, but I wasn’t quite happy with the result.  I found a great pattern on NapKitten and decided to go ahead and buy the pattern rather than trying to puzzle through it. 
Wallet by NapKitten

Here is the result.

It’s a nifty wallet, really, with a coin pocket and lots of card slots.  I think it’s a bit big, though, and might remake it with a decreased size.  My old wallet spoiled me with how small it was. 

I’m going to be strong and not tell you how I goofed.  The pattern itself was pretty easy to follow with lots of pictures.  If I couldn’t quite figure out what I was supposed to do in the written portion, the pictures helped me puzzle through.  Every step was detailed, something I adore because otherwise I get lost.

I bought another pattern from NapKitten for my sister’s birthday.  It’s meant to hold a camera and a phone.  I’m going to turn it into a voodoo head for a wallet and keys.  But first, I think I might make a prototype to fix any small goofs I might have.
Clutch by NapKitten


Friday, April 13, 2012

Crafting my list

One of the good things about having white boards is that I can write down lists.  To Do lists are all well and good when you have a plan, but when you have a list of things to do with no specific date, white boards can't be beat.  Unfortunately, once your list reaches from the top to the bottom of the board, it means you should probably get something done...

I have two white boards in my house and I consolidated my To Craft lists last night.  Holy crap, I have a ton of stuff to get done.  My goal is to get everything on it right now done before 2013.  Why so far away you ask?  Because otherwise I'll miss the deadline and nothing will get done. :)

Here is my To Craft list, or at least part of it.  I forgot to write it all down in my notebook last night.  And, of course, this doesn't include presents for holidays - except my sisters birthday next month.  I guess it's time for me to break out my sewing machine and get going!

To Sew for SCA:
Daemon's Greek tunic
Daemon's second tunic
Finish Dezy's green dress
Make Dezy a loose sleeve gown that doesn't bother the burn on her arm?
Dezy - New hoop skirt
Dezy - fix old hoop skirt
Camicia
Veils
Coazzone / Trinzale
Turkish coat
Loose Venetian gown / coat
Persian or Turkish garb - Pick one!
German Garb
Dezy bag
SCA specific bag
Daemon pouch
Fancy sleeves
Embroidered heraldry sleeve
For SCA:
Game boards
Rule book / binder - bind into a book?
Heraldry flash cards

To Sew:
Simple skirt / broomstick skirt
Yoke top
Wallet
Laptop / work bag
Project bags
New sharpie bag
New hook bag or roll

To Crochet:
Dezy voodoo head bag 
Dezy voodoo doll
Dezy bunny
 
Other Crafts:
Plastic Canvas creeper
Eevee in some form
Mother's day present

Sunday, April 8, 2012

It's a bunny!

I thought my son was getting too old for stuffed animals.  Or, at least, for homemade gifts.  But luckily, this isn't the case.  The kiddo had been hinting around for a week or two that he didn't have a crocheted bunny and wouldn't it be wonderful if he could add one to the collection?  Of course, it might be because we have a cute, live bunny at home now and a stuffed one would almost be as cute.
With Easter/Ostara around the corner, it seemed like the best time to break out the hooks and get crafting.
I found this adorable pattern on CRAFT and got to it.  I was really worried I wouldn't have the time, but I finished the pattern Saturday morning.  The pattern worked up quick and easy and the pieces went together nicely.  The kiddo loved finding this cute bunny in his basket on Easter morning.  My sister has already requested one too.
 Happy crafting!

Friday, March 30, 2012

New Dresses in Seafoam and Burgandy


Most of my creating time lately has been filled with sewing.  I’m going to a SCA event this weekend and I wanted to make a new set of garb.  It could have been one a lot sooner, but I, of course, suffer from fear I’m going to screw something up. :)

I managed to make a gown based off the styles of Venice in the 1500’s.  I forgot to take pictures of it all by itself… grr.  The bodice is the main time consumer on the under dress.  In front, there is a couple layers of canvas cut in an odd way to make the bodice self-supporting.  The dress has two side openings which lace up.  The skirt material is cartridge pleated to the bodice and sewn up the sides. 


The over dress (the red one) is split open in the front and has a v at the front and back.  I used a hook and eye to close it.  When I tried it on without the under dress, it stayed closed all on its own.  I might have to add another hook and eye a little further down. 

This over dress was probably the hardest part of the whole thing.  It’s not a hard pattern, but I was stressing out like crazy because I just couldn’t wrap my head around the instructions.  Last time I made one, I didn’t do the gores right and I really didn’t want to mess this one up.  But I followed through with the instructions and it fits wonderfully. 

The sleeves I’m not sold on.  I might have to make a different set to go with it.  They are in two pieces, a closed upper sleeve and a tied lower sleeve which lets my camicia poof out through the openings.  The upper sleeve should probably be made shorter.  But it’s not bad for a first effort.

Friday, March 23, 2012

Recycled Paper Flowers

I have a thing for paper.  Well, for all stationary products in general.  Paper only tickles my fancy when I can fold it into things - books, flowers, stars, etc.  I found this tutorial a couple years ago and started making flowers from used post-its at work.  Then I fell out of the habit.  This week, however, I have been revisiting my paper flower balls.

My new post-it ball isn't finished yet.

But here's an old one I did.

And my scrap letterhead one!  Well, half of it.  I have yet to make a complete ball.  All I have to do is glue two of these together and I'm golden.  Or I could leave it the way it is and leave it pinned to my wall. 

I'm thinking of finding some green paper or yarn and adding stems to my paper flowers to decorate the side of my cubicle.  What do you think?

Friday, March 9, 2012

The Poor Jeans


My kiddo is hard on his clothes.  It doesn’t really matter what he’s wearing, chances are it will have a hole, pen ink, or a stain on it before the end of the day.  I swear it’s like magic.  The other day, he brought me a pair of jeans with a huge hole in the back and asked me to fix them. 
The holes after patching.  How do you do this to your clothes, child?!
I, being the crafty mom, said no problem, let me whip out my new sewing machine.  Then I realized that not only did his jeans have one massive hole, but they had a bunch of smaller ones too.  I went ahead and patched them up, but they are about ready for the scrap pile. 

The front side close up of the hole.  I could have trimmed off the fringe before sewing, but I like it on there.
A friend of mine, Kristin from Craft Leftovers (and Ames C.art, yay!), introduced me to the method I used.  I added a piece of canvas to the back side of the hole and sewed like crazy over the space.  I could have done it more artistically, but there were a lot of holes.  My patch job is only prolonging the suffering of this denim.
You can see at least two more holes on his jeans...

A close up of the backside large hole.  Once I was done sewing, I trimmed the canvas to size.
Kristin wrote a book on mending, Mend It Better, and it’s recently come out and had great reviews.  If you are looking for a great resource on making your clothes live longer, check it out.

Friday, March 2, 2012

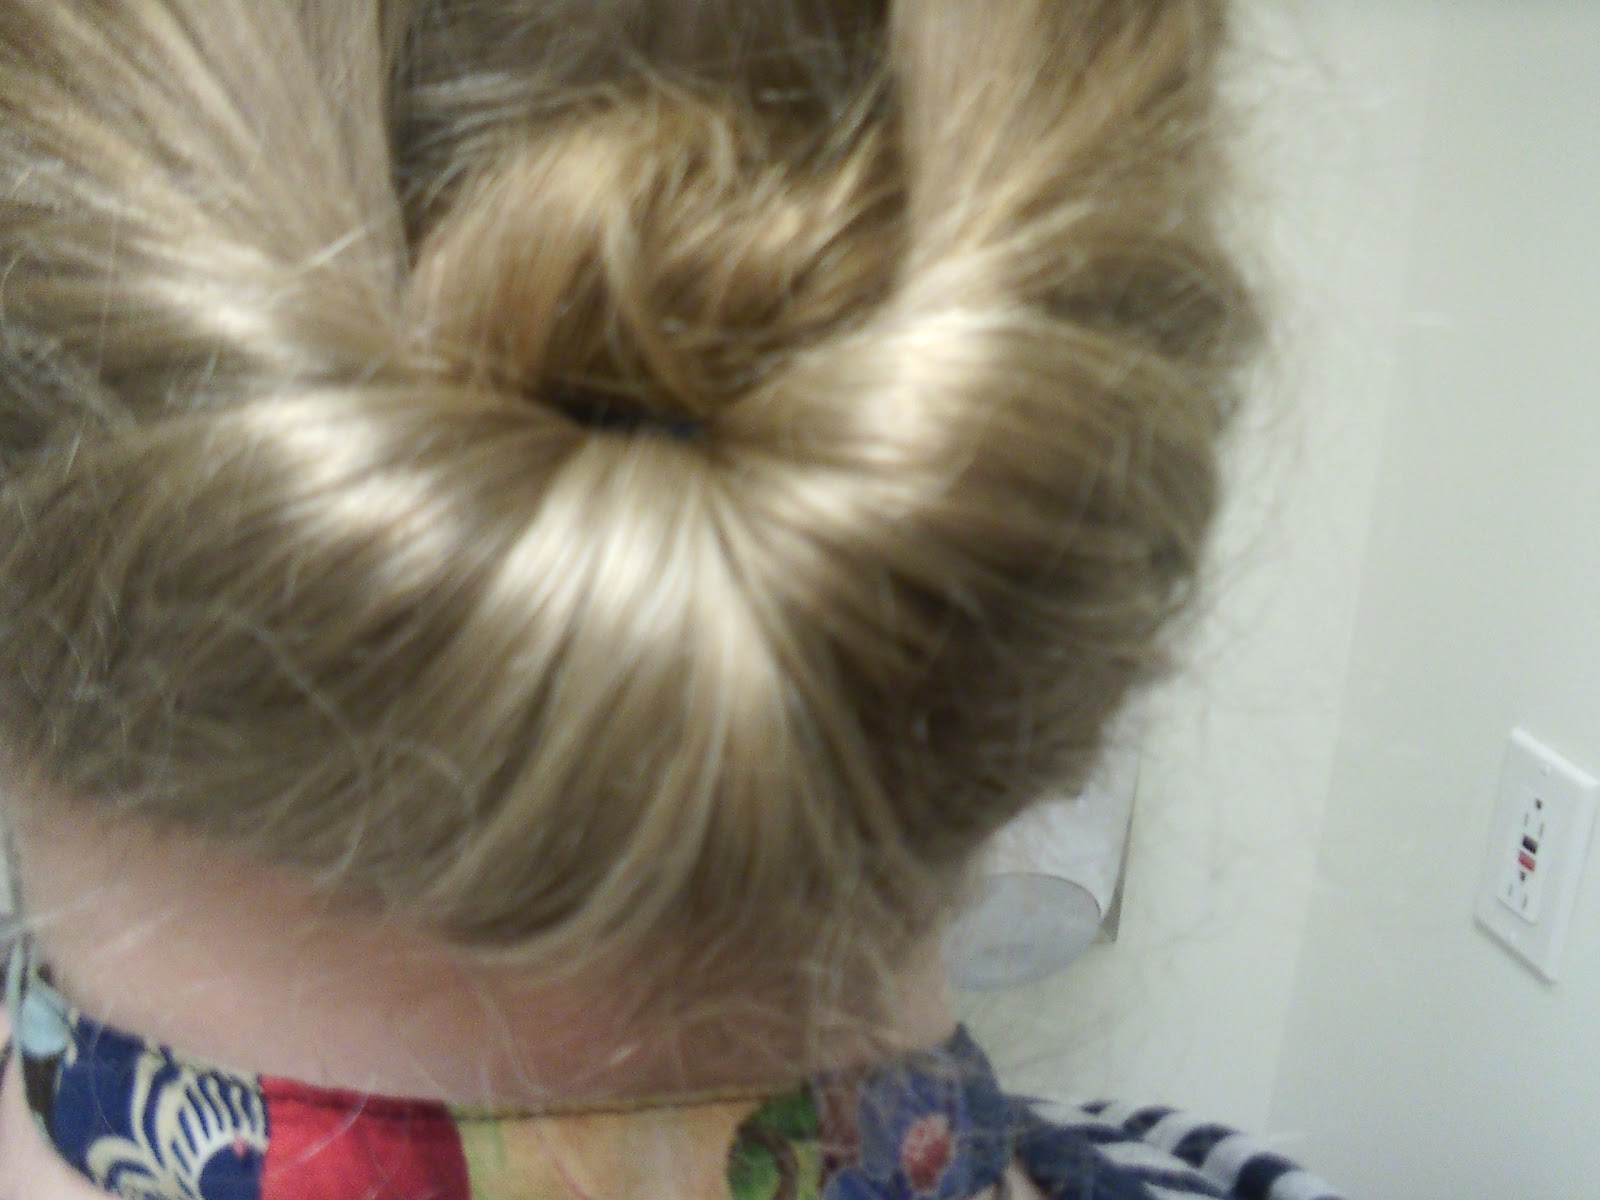
I do an Updo


I’ve been in a Rockabilly / Dieselpunk mood lately.  The music!  The clothes!  The hair!  I’d say the make-up, but I don’t normally wear any.  Although I am tempted to run out and get some.  There is something about that time period and it’s calling to me.

I tried my best to not remember anything I learned about the World Wars when I was in school.  Dates for who invaded who and who blew up who because of what were really not that interesting to me when I was a teenage hippy.  If they would have taught me more things like women in the factories, the artwork on the planes, and the crime scene, I might have had a better grade. 
My attempt at a Gibson Roll.  It kept falling out, though.
My sister and a friend were over last week and we started looking up YouTube videos on hair and makeup and all that jazz.  My friend managed to get fake bangs and I managed to put my hair up in a Gibson roll.  Of course, I failed to take a picture of it.  I tried again this morning and failed miserably, so I just pulled my ponytail through the ‘hole’ and let it go.

Don't mind the decor...
Taking pictures of the back of your head is hard! 
My frizzy, frizzy hair.

Monday, February 27, 2012

A Masquerade

I've always been enamored of masquerades.  The masks, the costumes, the mystery.  Did I say masks already?  Something about masks makes me rub my hands together in anticipation.  They could be covered in feathers, in beads, in fabric, or even painted.  Even the blank ones make me sigh with their endless possibilities.

Of course, it's pretty rare that I actually make a mask.  But my dear friend gathered together a bunch of them for Mardi Gras and modified them a bit.  I got to take mine home and work on it before hand.  Of course, I ended up leaving it at home on Mardi Gras and wasn't able to wear it.  That's my luck. 

My mask started off as plain gold sequins and shiny trim.  I added some ribbon around the trim and hot glued some black sequins over the gold ones in random spots.  I found a black fabric rose at the store when I picked up the sequins.  The rose is detachable in case it got too annoying.  I flirted with adding more ribbon hanging from the corners with feathers trailing, but I like the mask the way it is.

The kiddo's was the same way, except his was red.  My friend made this one for him.  She took the trim off and replaced it with a black pleather trim.  A few pieces of the trim have fallen off and I need to fix it.  She added a few feathers to make it look more 'masculine.'  The kiddo loved it and wore it the entire time up on his head - he couldn't wear it on his face over his glasses.

A friend I went to high school with is an amazing artist, and I think she feels the same way about masks as I do.  She has created a shop called Red Robin Masks and has her great creations for sale.  Go check it out!
Photo from Red Robin Masks

Friday, February 17, 2012

Weird things we do at restaurants

I get a little fidgety when I get bored or nervous.  Or when my meal is over and we're still sitting around talking.  I don't know what it is, but we've managed to leave some interesting things for those who had the pleasure, or pain, of serving my friends and I.

The kiddo and I went out to eat with a friend (not romantic) on Valentine's Day.  We brought cards and talked and ate and had a pretty good time.  When we were getting ready to go, my son requested a ninja star.  My friend has recently learned how to make ninja stars and has made a ton of them. 
I, of course, suddenly remembered the second placemat hadn't been used at all.  I couldn't have that!  So I made a Swedish heart by tearing paper.  I'm pretty pleased with it given that I had no scissors and only used my hands.   The kiddo colored the paper so you can't see how it's woven that well.
 Halfway through, my friend was said, "You could just quill a heart instead."
 Not to be outdone, I decided to put my tip money in my woven heart.
More tips for the waitress.

Friday, February 10, 2012

Clothing oh my!

As I've mentioned before, I went and joined the SCA (Society for Creative Anachronism) recently.  Not only did I give up free time and brain space for the SCA, but I went and infected a friend and my sister with it.  Last weekend, my sister went to her first event and had a blast.  Before she could go, however, we had to make her some clothes.


A friend forwarded me an awesome pattern generator for the inner layer/chemise/slip/smock.  We thought my sister might be able to get a hold of some loaner garb, but it fell through.  Instead, we used the same pattern to make an over dress to go along with the smock.  This pattern is amazingly easy to follow and fits pretty well.  My sister was complaining halfway through the day that it was actually too loose, so we will have to add in some lacing to the back or something else to keep it in place. 


While we were there, the wonderful lady we stayed with managed to convince us to participate in the memorial portion of the Walk Through History, a historical fashion show.  Well, my sister really didn't need convincing, but me going out and having people stare at what I'm wearing?  Not the best situation.  But we made it through it and I am very glad I was able to help a new friend honor someone she deeply cared about. 
While I managed to snap photos of my sister, I failed, once again, to get pictures of my own garb.  Here is a quick and dirty photo I wrangled up.
Now I have to finalize plans for my next set of garb.  Mwahaha... ahem.

Friday, January 27, 2012

A New Needle BookI


My house has been invaded by needles.  What started out as a meager collection of simple needles appropriate to a new sewer grew when I was given a needle book several years ago.  That needle book had large eyes, blunt tips, and curved needles, all of which quickly became my favorite.  Recently, I think I have quadrupled the amount of needles in my house with the collection from my grandfather’s late girlfriend.  Then, I went and bought longer needles for weaving.

Where do I put all these needles?  How do I remember where I put them?

I take a great idea and make it better.

Remember that needle book I mentioned?  It was a small thing made of plastic canvas with a thinner strap to hold it closed.  The large needles it came with barely fit in it, and the strap long ago fell off.  So I made a new, larger version.
My new purple, white, and black needle book.  Yes, it looks blue, but I swear it's purple.

Plastic Canvas Needle Book
Supplies:
Plastic canvas
Yarn
Yarn needle
Felt
Sewing thread
Needle
Scissors

1 – Decide on the size you want your needle book.  I took my largest needle and laid it sideways on my cutting mat to get a feel for how big I needed it.  Once you have a basic idea, consult your plastic canvas and design idea.  Count out the squares and see if your design idea will work.  You may need to add more or less.  My needle book was twenty five squares high by twenty squares wide.

2 – Cut your plastic canvas into five pieces using your measurements. 

You will need:
2 main pieces for covers (twenty five squares by twenty squares)
1 piece for the spine – Make this piece as tall as your cover but only a few squares wide.   (Twenty five squares by two squares)
1 piece for strap – This piece should be as wide as your cover plus spine but only a few squares tall.  (Twenty two by three)
1 piece for the buckle (what holds the strap in place) – this should be about double the height of your strap.  (Seven by five)

3 – Decorate your canvas with yarn.  I chose to do a checked pattern with an outline (see below for instruction type things).  You could make it all one color, use stripes, whatever you wish your needle book to look like.  Use one continuous piece of yarn if possible.  If you do, you have less ends to worry about.  The inner side will be covered when done.

4 – Edge your canvas.  Pull your yarn up through one square and go over the edge of the canvas to come up through the next square.  Repeat this around the entire canvas to cover the edges.  When you are finished, weave in your end.

5 – Adding the strap.  On your back piece, center the end of your strap and hold in place.  Use your needle and thread to sew through the canvas to anchor your strap.  You could use yarn, but I like to use thread to make sure it is secure. 

6 – Add your buckle.  Lay out your front and back piece with a gap the size of your spine between them.  Center your buckle and move it slightly forward on your front piece over the strap.  Make sure you put the strap beneath the buckle.  The strap will cause the buckle to, well, buckle a bit.  You will want to keep that arch as you sew.  Sew down the top and bottom ends of the buckle with thread.  Go over the ends several times to secure.

7 – Add the spine.  Lay out your front and back piece on either side of your spine.  This time, use your edging yarn to whipstitch the spine to one of the covers.  Run your thread to the other side and whipstitch the other cover to the spine.  Tie off your yarn and weave in the end.

8 – Cut one to three pieces of felt just slightly smaller than the laid out book.  One piece will be sewn to the covers.  Any additional pieces of felt will become the pages of your book.  My original needle book did not have additional pages.  I added two extra pieces of felt to this new book. 

9 – If you have additional pages, stack all your felt pieces together and line them up.  Find the center of the stack and sew down the length of it, creating a ‘book’ of felt. 

10 – Putting it all together.  Center your pages in the middle of your spine.  Use thread to sew the bottom piece of felt to the cover.  Follow the edge and stretch your felt slightly if needed.  I went in and out along the first row of the plastic canvas.  When finished, knot and bury your thread.

11 – Put your needles in their new home!


 Now my large needles don't have to live in a plastic exile from all the others!


For the Checked pattern:

Columns are vertical.
Rows are horizontal.

With Yarn One, start at the second square down (first column, second row) and pull the yarn up and then down through the second square across (second column, first row).  Move to the third square down and repeat until you have yarn through the fifth squares (first column, fifth square and fifth column, first square).  Now, instead of moving down, you will move over.  Pull the yarn up through the second square in the fifth row (second column, fifth row) and down through the second square of the fifth column (fifth column, second row).  Continue through the third and fourth squares (fourth column, fourth square and fifth column, fourth square).  You have completed one square!  Move over five columns and continue.

With Yarn Two, repeat the same pattern above except begin at the opposite corner and move backward.  This varies the angle of the yarn.

With Yarn Three, begin at the space between the colors (column five, first square).  Pull your yarn up through column five, first square and down through column six, first square.  Pull the yarn back up through column five, first square and down through column six, second square.  Pull yarn up through column five, second square and down column six, third square.  Continue until you reach the end of the canvas.  Pull the yarn up through the last empty square and down through the square across from it, repeating what you started with.  Repeat this between all your squares.